Media Library
EmDash includes a media library for managing images, documents, and other files. This guide covers uploading, organizing, and using media in your content.
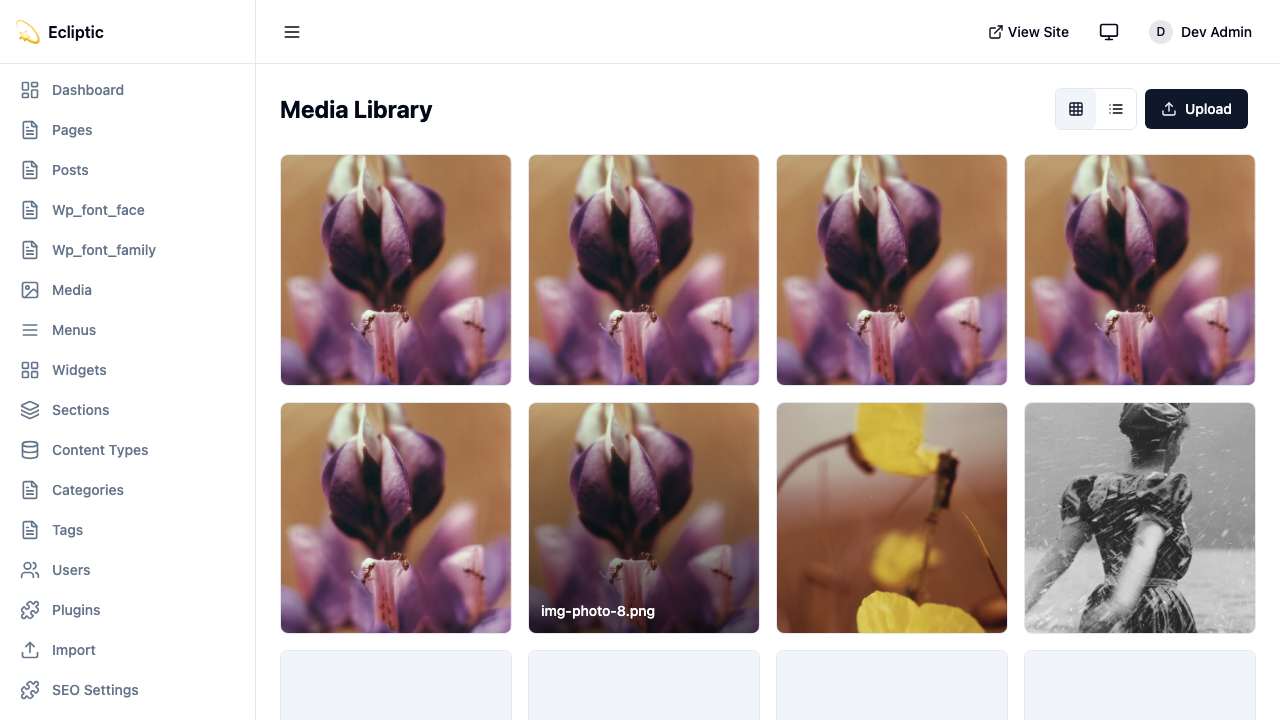
Accessing the Media Library
Section titled “Accessing the Media Library”Open the media library from the admin sidebar by clicking Media. The library displays all uploaded files with previews, filenames, and upload dates.
Uploading Files
Section titled “Uploading Files”From the Media Library
Section titled “From the Media Library”-
Click Media in the admin sidebar
-
Click Upload or drag files onto the upload area
-
Select one or more files from your computer
-
Wait for uploads to complete
From the Content Editor
Section titled “From the Content Editor”-
In the rich text editor, click the image button
-
Click Upload in the media picker
-
Select a file from your computer
-
Add alt text and click Insert
Supported File Types
Section titled “Supported File Types”EmDash supports common web file types:
| Category | Extensions |
|---|---|
| Images | .jpg, .jpeg, .png, .gif, .webp, .avif, .svg |
| Documents | .pdf, .doc, .docx, .xls, .xlsx, .ppt, .pptx |
| Video | .mp4, .webm, .mov |
| Audio | .mp3, .wav, .ogg |
Storage Backends
Section titled “Storage Backends”EmDash supports multiple storage backends. Configure storage in your Astro config:
import { defineConfig } from "astro/config";import emdash, { local } from "emdash/astro";
export default defineConfig({  integrations: [    emdash({      storage: local({        directory: "./uploads",        baseUrl: "/_emdash/api/media/file",      }),    }),  ],});
Files are stored in the ./uploads directory. Suitable for development and single-server deployments.
import { defineConfig } from "astro/config";import emdash, { r2 } from "emdash/astro";
export default defineConfig({  integrations: [    emdash({      storage: r2({        binding: "MEDIA_BUCKET",        publicUrl: "https://media.example.com",      }),    }),  ],});
Requires an R2 bucket configured in wrangler.jsonc:
{ "r2_buckets": [ { "binding": "MEDIA_BUCKET", "bucket_name": "my-media-bucket", }, ],}import { defineConfig } from "astro/config";import emdash, { s3 } from "emdash/astro";
export default defineConfig({ integrations: [ emdash({ storage: s3({ endpoint: "https://s3.amazonaws.com", bucket: "my-media-bucket", accessKeyId: process.env.S3_ACCESS_KEY_ID, secretAccessKey: process.env.S3_SECRET_ACCESS_KEY, region: "us-east-1", publicUrl: "https://media.example.com", }), }), ],});Works with Cloudflare R2 (via S3 API), MinIO, and other S3-compatible services.
How Uploads Work
Section titled “How Uploads Work”EmDash uses signed URLs for secure uploads:
-
Client requests an upload URL from the API
-
Server generates a signed URL with expiration
-
Client uploads directly to storage using the signed URL
-
Server records the file metadata in the database
This approach keeps large files off your application server and enables direct uploads to cloud storage.
Organizing Media
Section titled “Organizing Media”Folders
Section titled “Folders”Create folders to organize your media:
-
Click New Folder in the media library
-
Enter a folder name
-
Click Create
-
Drag files into folders to organize them
Search
Section titled “Search”Use the search box to find files by name. Search matches partial filenames.
Filters
Section titled “Filters”Filter media by:
- Type - Images, Documents, Video, Audio
- Date - Upload date range
- Folder - Specific folder
Using Media in Content
Section titled “Using Media in Content”In the Rich Text Editor
Section titled “In the Rich Text Editor”-
Place your cursor where you want the image
-
Click the image button in the toolbar
-
Select an image from the media library or upload a new one
-
Enter alt text
-
Click Insert
As a Featured Image
Section titled “As a Featured Image”-
Open a content entry in the editor
-
Find the Featured Image field in the sidebar
-
Click Select Image
-
Choose from the media library or upload
-
Click Save
In Custom Fields
Section titled “In Custom Fields”For fields configured as image or file types, click the field to open the media picker.
Displaying Media in Templates
Section titled “Displaying Media in Templates”Access media URLs from your content data:
---import { getEmDashEntry } from "emdash";
const { entry: post } = await getEmDashEntry("posts", Astro.params.slug);---
{post?.data.featured_image && (  <img    src={post.data.featured_image}    alt={post.data.featured_image_alt ?? ""}  />)}
Responsive Images
Section titled “Responsive Images”For responsive images, use Astro’s Image component with external URLs:
Responsive Images
Section titled “Responsive Images”For responsive images, use Astro’s Image component with external URLs:
---import { Image } from "astro:assets";import { getEmDashEntry } from "emdash";
const { entry: post } = await getEmDashEntry("posts", Astro.params.slug);---
{post?.data.featured_image && ( <Image src={post.data.featured_image} alt={post.data.featured_image_alt ?? ""} width={800} height={450} />)}Deleting Media
Section titled “Deleting Media”-
Select the file(s) you want to delete
-
Click Delete
-
Confirm the deletion
Media API
Section titled “Media API”Access media programmatically using the admin API.
Upload a File
Section titled “Upload a File”Request a signed upload URL:
POST /_emdash/api/media/uploadContent-Type: application/jsonAuthorization: Bearer YOUR_API_TOKEN
{  "filename": "hero-image.jpg",  "contentType": "image/jpeg",  "size": 245000}
Response:
{ "url": "https://storage.example.com/signed-upload-url...", "method": "PUT", "headers": { "Content-Type": "image/jpeg" }, "expiresAt": "2024-01-15T12:00:00Z", "key": "media/abc123/hero-image.jpg"}Upload the file using the signed URL:
PUT https://storage.example.com/signed-upload-url...Content-Type: image/jpeg
<file contents>
List Media
Section titled “List Media”GET /_emdash/api/media?prefix=images/&limit=20Authorization: Bearer YOUR_API_TOKENDelete Media
Section titled “Delete Media”DELETE /_emdash/api/media/images/hero.jpgAuthorization: Bearer YOUR_API_TOKENMedia Providers
Section titled “Media Providers”In addition to local storage, EmDash supports external media providers for specialized image and video hosting. Media providers appear as tabs in the media picker, letting editors choose from multiple sources.
Available Providers
Section titled “Available Providers”Cloudflare Images provides image hosting with automatic optimization, resizing, and format conversion.
import { defineConfig } from "astro/config";import emdash from "emdash/astro";import { cloudflareImages } from "@emdash-cms/cloudflare";
export default defineConfig({  integrations: [    emdash({      // ... database, storage config      mediaProviders: [        cloudflareImages({          accountId: import.meta.env.CF_ACCOUNT_ID,          apiToken: import.meta.env.CF_IMAGES_TOKEN,          // Optional: custom delivery domain          deliveryDomain: "images.example.com",        }),      ],    }),  ],});
Features:
- Browse and upload images directly from the admin
- Automatic image optimization and format conversion
- URL-based transformations (resize, crop, format)
- Flexible variants for responsive images
Cloudflare Stream provides video hosting with HLS/DASH adaptive streaming.
import { defineConfig } from "astro/config";import emdash from "emdash/astro";import { cloudflareStream } from "@emdash-cms/cloudflare";
export default defineConfig({  integrations: [    emdash({      // ... database, storage config      mediaProviders: [        cloudflareStream({          accountId: import.meta.env.CF_ACCOUNT_ID,          apiToken: import.meta.env.CF_STREAM_TOKEN,          // Optional: player settings          controls: true,          autoplay: false,          loop: false,        }),      ],    }),  ],});
Features:
- Browse, search, and upload videos from the admin
- HLS and DASH adaptive streaming
- Automatic thumbnail generation
- Direct upload for large files
Using Multiple Providers
Section titled “Using Multiple Providers”You can configure multiple providers. Each appears as a tab in the media picker:
import { defineConfig } from "astro/config";import emdash from "emdash/astro";import { cloudflareImages, cloudflareStream } from "@emdash-cms/cloudflare";
export default defineConfig({  integrations: [    emdash({      database: d1({ binding: "DB" }),      storage: r2({ binding: "MEDIA" }),      mediaProviders: [        cloudflareImages({          accountId: import.meta.env.CF_ACCOUNT_ID,          apiToken: import.meta.env.CF_IMAGES_TOKEN,        }),        cloudflareStream({          accountId: import.meta.env.CF_ACCOUNT_ID,          apiToken: import.meta.env.CF_STREAM_TOKEN,        }),      ],    }),  ],});
The local media library (“Library” tab) is always available alongside any configured providers.
Rendering Provider Media
Section titled “Rendering Provider Media”Use the EmDashMedia component to render media from any provider:
---import { EmDashMedia } from "emdash/ui";import { getEmDashEntry } from "emdash";
const { entry: post } = await getEmDashEntry("posts", Astro.params.slug);---
{post?.data.featured_image && (  <EmDashMedia    value={post.data.featured_image}    width={800}    height={450}  />)}
The component automatically:
- Detects the provider from the stored value
- Renders the appropriate element (
<img>,<video>, etc.) - Applies provider-specific optimizations (e.g., Cloudflare Images transformations)
MediaValue Type
Section titled “MediaValue Type”Media fields store a MediaValue object containing provider information:
interface MediaValue { provider: string; // Provider ID (e.g., "local", "cloudflare-images") id: string; // Provider-specific ID url?: string; // Direct URL (for local/external) filename?: string; // Original filename mimeType?: string; // MIME type width?: number; // Image/video width height?: number; // Image/video height alt?: string; // Alt text meta?: Record<string, unknown>; // Provider-specific metadata}This allows EmDash to render media correctly regardless of where it’s hosted.
Next Steps
Section titled “Next Steps”- Working with Content - Use media in your content
- Create a Blog - Add images to blog posts
- Querying Content - Display media in templates