Getting Started
This guide walks you through creating your first EmDash site, from installation to publishing your first post.
Prerequisites
Section titled “Prerequisites”- Node.js 18.17.1 or higher
- npm, pnpm, or yarn
- A code editor (VS Code recommended)
Create a New Project
Section titled “Create a New Project”npm create astro@latest -- --template emdashpnpm create astro@latest --template emdashyarn create astro --template emdashFollow the prompts to name your project and set up your preferences.
Start the Development Server
Section titled “Start the Development Server”-
Navigate to your project directory:
Terminal window cd my-emdash-site -
Install dependencies:
Terminal window npm install -
Start the dev server:
Terminal window npm run dev -
Open your browser to
http://localhost:4321
Complete the Setup Wizard
Section titled “Complete the Setup Wizard”When you first visit the admin panel, EmDash’s Setup Wizard guides you through initial configuration:
-
Navigate to
http://localhost:4321/_emdash/admin -
You’ll be redirected to the Setup Wizard. Enter:
- Site Title — Your site’s name
- Tagline — A short description
- Admin Email — Your email address
-
Click Create Site to register your passkey
-
Your browser will prompt you to create a passkey using Touch ID, Face ID, Windows Hello, or a security key
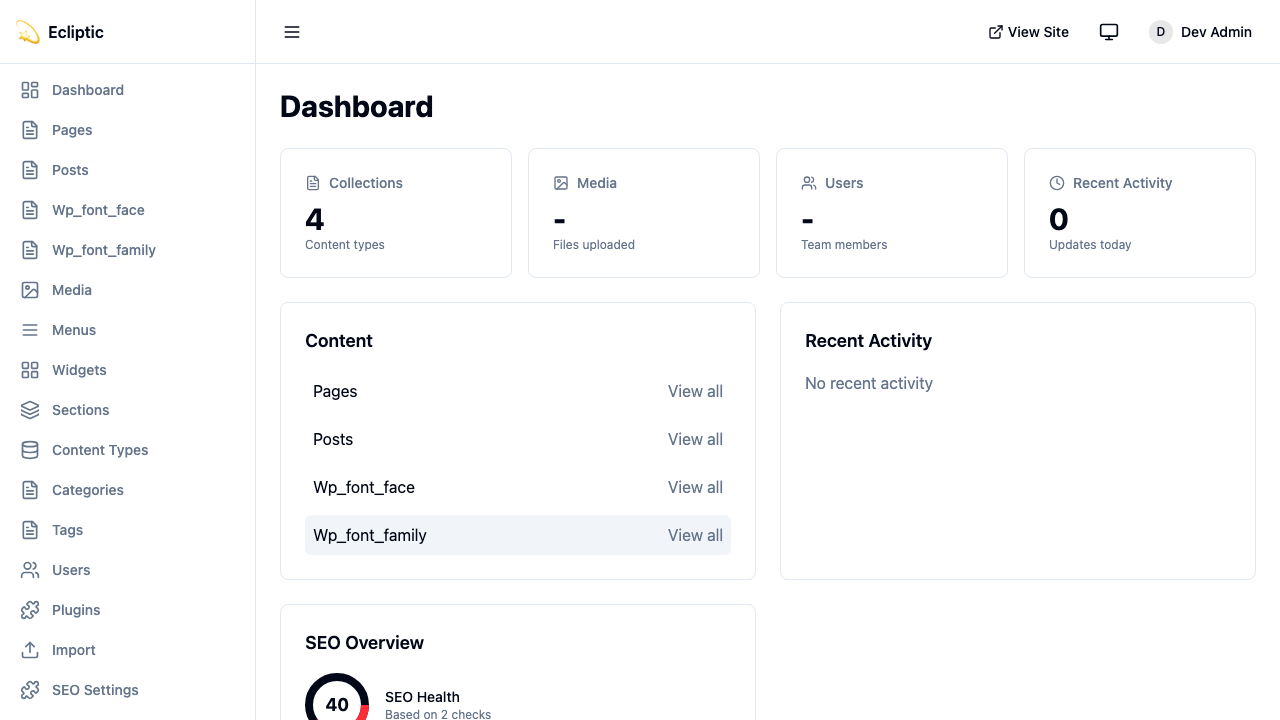
Once your passkey is registered, you’re logged in and redirected to the admin dashboard.
Your First Post
Section titled “Your First Post”-
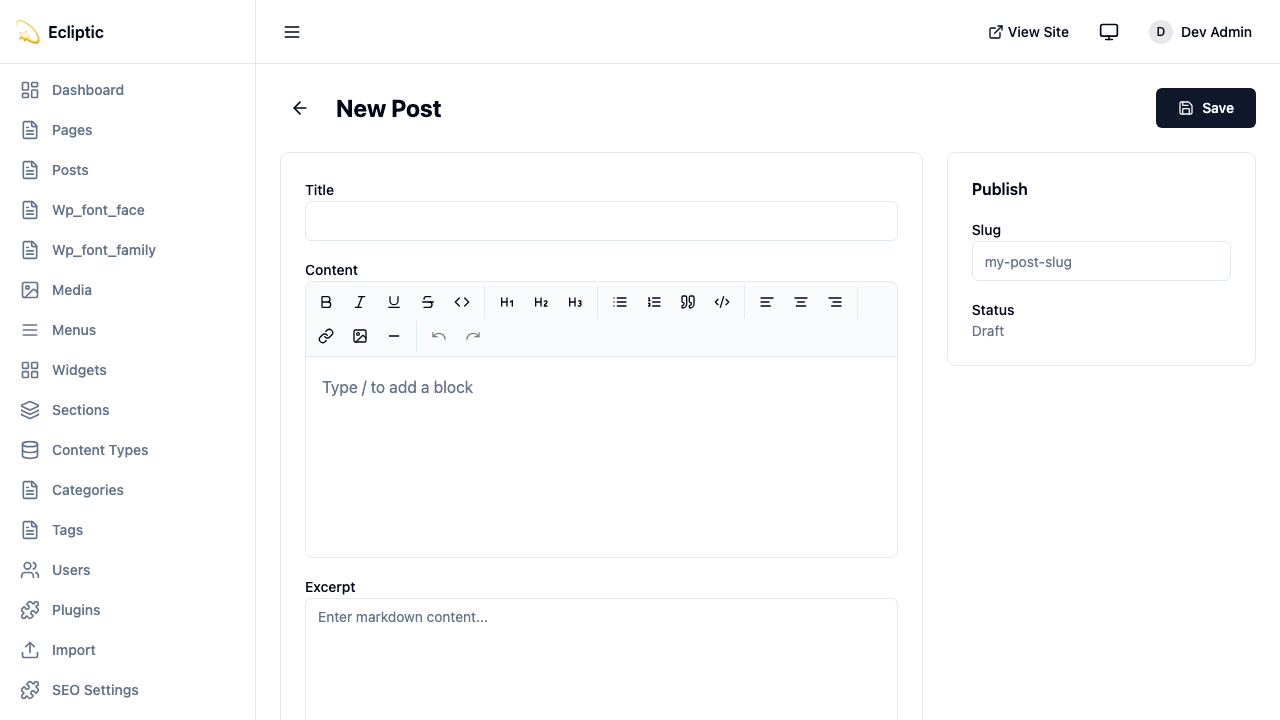
In the admin sidebar, click Posts under Content.
-
Click New Post.
-
Enter a title and write some content using the rich text editor.
-
Set the status to Published and click Save.
-
Visit your site’s homepage to see your post live—no rebuild needed!
Project Structure
Section titled “Project Structure”Your EmDash project follows a standard Astro structure with a few additions:
my-emdash-site/├── astro.config.mjs # Astro + EmDash configuration├── src/│ ├── live.config.ts # Live Collections configuration│ ├── pages/│ │ ├── index.astro # Homepage│ │ └── posts/│ │ └── [...slug].astro # Dynamic post pages│ ├── layouts/│ │ └── Base.astro # Base layout│ └── components/ # Your Astro components├── .emdash/│ ├── seed.json # Template seed file│ └── types.ts # Generated TypeScript types└── package.jsonConfiguration Files
Section titled “Configuration Files”astro.config.mjs
Section titled “astro.config.mjs”This configures EmDash as an Astro integration:
import { defineConfig } from "astro/config";import emdash, { local } from "emdash/astro";import { sqlite } from "emdash/db";
export default defineConfig({  integrations: [    emdash({      database: sqlite({ url: "file:./data.db" }),      storage: local({        directory: "./uploads",        baseUrl: "/_emdash/api/media/file",      }),    }),  ],});
src/live.config.ts
Section titled “src/live.config.ts”This connects EmDash to Astro’s content system:
import { defineLiveCollection } from "astro:content";import { emdashLoader } from "emdash/runtime";
export const collections = { _emdash: defineLiveCollection({ loader: emdashLoader() }),};Environment Variables
Section titled “Environment Variables”For production deployments, you’ll need to set:
# Required for authenticationEMDASH_AUTH_SECRET=your-secret-here
# Optional: for content previewEMDASH_PREVIEW_SECRET=your-preview-secret
Generate a secure auth secret with:
npx emdash auth secretQuery Content in Pages
Section titled “Query Content in Pages”Use EmDash’s query functions in your Astro pages. These follow Astro’s live collections pattern, returning { entries, error } for collections and { entry, error } for single entries:
---import { getEmDashCollection } from "emdash";import Base from "../layouts/Base.astro";
const { entries: posts } = await getEmDashCollection("posts");---
<Base title="Home">  <h1>Latest Posts</h1>  <ul>    {posts.map((post) => (      <li>        <a href={`/posts/${post.slug}`}>{post.data.title}</a>      </li>    ))}  </ul></Base>
For single entries:
---import { getEmDashEntry } from "emdash";
const { slug } = Astro.params;const { entry: post } = await getEmDashEntry("posts", slug);
if (!post) {  return Astro.redirect("/404");}---
<h1>{post.data.title}</h1>
Generate TypeScript Types
Section titled “Generate TypeScript Types”For full type safety, generate types from your database schema:
npx emdash typesThis creates .emdash/types.ts with interfaces for all your collections. Your editor will now autocomplete field names and catch type errors.
Next Steps
Section titled “Next Steps”You now have a working EmDash site! Here’s where to go next:
- Core Concepts — Understand how EmDash works under the hood
- Working with Content — Learn to query and render content
- Media Library — Upload and manage images and files
- Create a Blog — Build a complete blog with categories and tags
- Deploy to Cloudflare — Take your site to production